Building a racing drone can be an exhilarating and rewarding project for those interested in the fast-paced world of FPV (First Person View) drone racing. This guide will provide you with a comprehensive overview of the steps involved in creating your own racing drone, ensuring you have the knowledge to customize and optimize your machine for maximum performance.
Step 1: Gather Your Components
The first step in building a racing drone is to gather all the necessary components. You'll need the following:
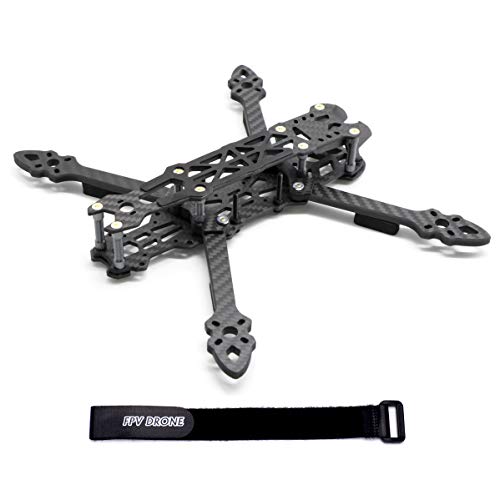
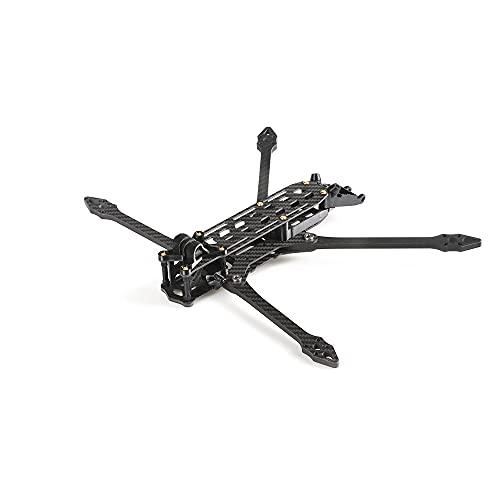
- a frame
- four (4) motors
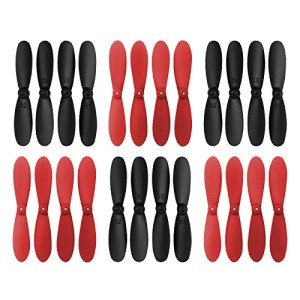
- four (4) propellers (recommend spare set)
- electronic speed controllers (ESCs)
- a flight controller
- a power distribution board
- a battery
- a camera (recommend minimum of 1080p)
- a video transmitter (VTX)
- a receiver.
Selecting quality components within your budget is crucial for the best performance and durability of your drone.
Step 2: Assemble the Frame
Once you have all your parts, begin by assembling the frame according to the manufacturer's instructions. This will serve as the skeleton of your drone, onto which all other components will be attached.
Step 3: Install the Motors and ESCs
Attach the motors to the frame and solder the ESCs to the power distribution board. The ESCs regulate the power to the motors, so ensure they are properly calibrated for your specific motors.
Step 4: Mount the Flight Controller
The flight controller is the brain of your drone. Mount it onto the frame and connect it to the ESCs. Make sure to follow the wiring diagram provided by the flight controller's manufacturer to avoid any mistakes.
Step 5: Install the FPV System
The FPV system consists of a camera and a video transmitter. Mount the camera at the front of your drone and connect it to the VTX. The VTX will then send the live video feed to your goggles or monitor.
Step 6: Connect the Receiver
Your receiver allows you to control the drone via your transmitter (remote control). Connect the receiver to the flight controller and bind it to your transmitter following the manufacturer's instructions.
Step 7: Final Checks and Setup
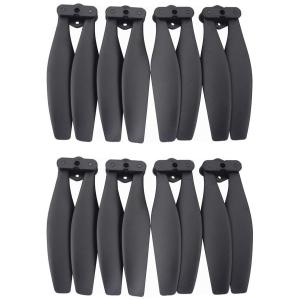
Attach a propeller for each motor. Each propeller must be of the same size, length, configuration, and weight (get them by the set of four). Before your first flight, double-check all connections and ensure everything is secure. Use the flight controller software to configure and fine-tune your drone's settings. This may include setting up flight modes, calibrating sensors, and adjusting PID (Proportional, Integral, Derivative) settings for stable flight.
Step 8: Test Flight
Find a safe and open area for your test flight. Start with basic maneuvers and gradually move to more complex ones as you become comfortable with the controls. Always follow local regulations and safety guidelines when flying.
Step 9: Tune and Optimize
After your initial flights, you may need to go back and adjust settings for better performance. Tuning your drone can involve adjusting the PID settings, ESC calibration, and experimenting with different propellers for improved handling and speed.
Step 10: Practice and Compete
With your racing drone built and tuned, it's time to practice your flying skills. Join local FPV racing clubs or online communities to learn from experienced pilots and participate in races.
Final Thoughts
Building a racing drone is just the beginning of an exciting journey into the world of drone racing. With practice and dedication, you can hone your skills and compete at higher levels. For detailed tutorials and component recommendations, you can refer to online resources and video guides such as the ones provided by UAVfutures and TRONCAT FPV, which offer step-by-step instructions and valuable tips for both beginners and advanced pilots.
Remember, building and flying racing drones involves a steep learning curve and requires patience and persistence. Enjoy the process, and happy racing!